I have been rather busy recently with a few different projects and work but I have managed to find time to make a few things for my guinea pigs! Over the past few winters my piggies (Boris and Harvey) have had sleeping bags to snuggle in when it gets really cold but last winter they chewed through one of them so I thought it was time to replace them.
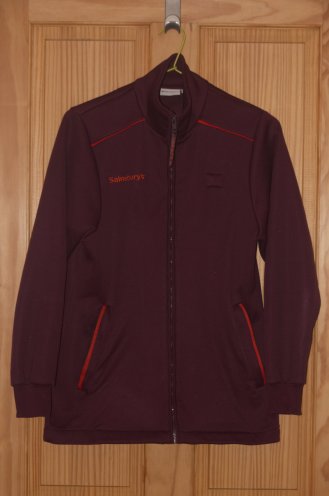
Originally the sleeping bags were made from left over fleece with a piece of milk bottle holding the entrance open. Having recently gone back to work at Sainsbury’s for the summer I was given a new jacket to replace my rather old worn one. Instead of throwing this jacket away, mum gave me the idea to see what I could make out of it for the piggies. I thought I would share with you how I made two tunnels (which are much loved by Boris) and a large sleeping bag.
The jacket has two layers, the inner layer (bright orange) is fleece and the outer layer is a maroon neoprene-like fabric.
I started by cutting the sleeves off at the seams and straightening the seam from the underarm to the shoulder. I then opened up the sleeve and rounded off the top slightly to remove the point.


I then found a plastic milk bottle and an empty yogurt bucket in the recycling. I started off by cutting off an inch strip from the top of the bucket and removed the handles. I also cut an inch strip from the biggest part of the milk bottle. You could also use a fizzy drinks bottle or another plastic bottle which will hold the tunnel open.

Next I folded the fabric over the plastic leaving around half an inch to stitch in. I didn’t bother to fold under the raw edge as the fabric shouldn’t fray and even if it does it isn’t the end of the world!
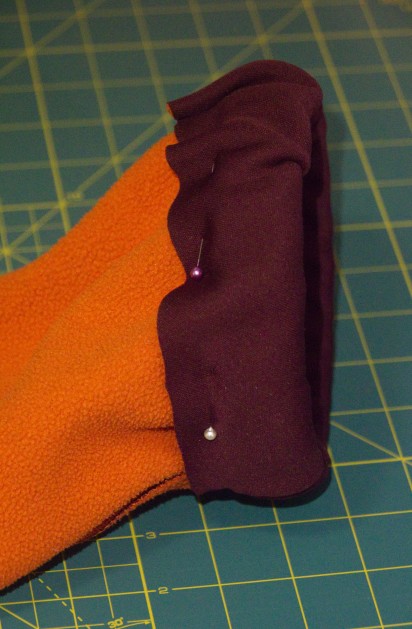
I found stitching round the top of the yogurt bucket very challenging as the plastic wasn’t very flexible and didn’t want to allow the fabric to stay under my machine foot. Therefore I highly recommend you chose a plastic with some flexibility! Once I had done this I cut off the cuffing and used a smaller strip of plastic to hold open the other end of the tunnel. At this point I panicked slightly because I thought it would be too small for my piggies but after bringing Boris in to test it I found it was the perfect size!
Next up was to deal with the body of the jacket. First I cut the zips out of the pockets and the centre front. I then stitched up the front of the jacket using a half inch seam allowance.
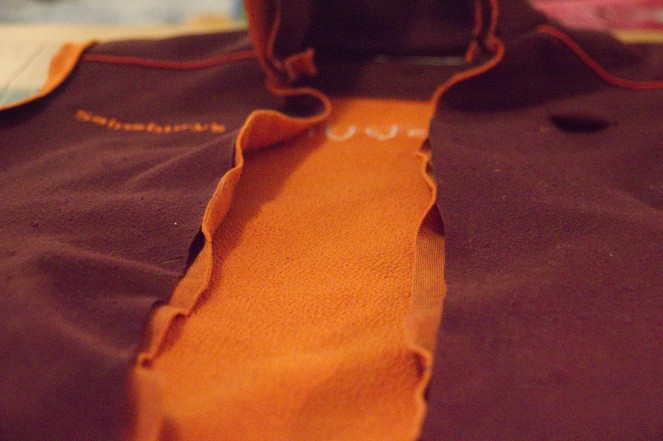
I then stitched up the pockets and removed the pocket fabric. this was followed by stitching up the arm holes keeping the origional shape. The plan had been to keep one of the arm holes open with some plastic but the neck of the jacket worked well for this without the need for plastic. Finally I stitched across the base of the jacket. I chose not to stitch close to the hem as I didn’t want the sleeping bag to be too big so I stitched about 4″ up from the base and trimmed the excess. Whilst the sleeping bag resembles a baby grow I’m pretty certain it will be well used when the colder weather returns!

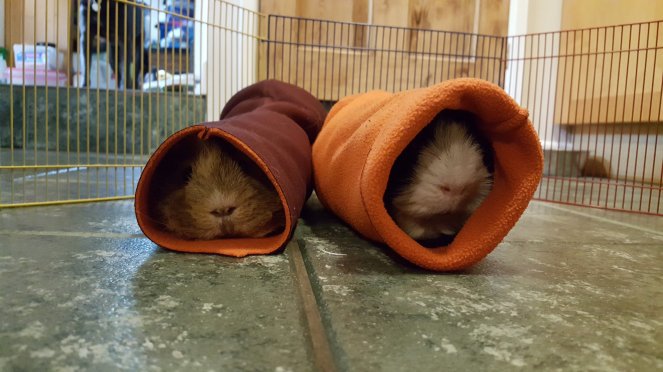
The tunnels appear to have gone down very well. I bought both Boris and Harvey inside to try them out and they both snuggled into them happily!


Excellent tutorial! Basil and Reggie are going to love some of these in the winter 🙂
LikeLiked by 1 person
Thank you! You’ll have to let me know how you get on and maybe send some pics when you’re finished?!
LikeLike